Flutter Setup
This tutorial will guide you through integrating the iOS bindings and Android bindings into an Flutter) project. Before you begin, make sure you’ve completed the "Getting Started - 3. Mopro build" process with selecting iOS platform and Android platform and have the MoproiOSBindings and MoproAndroidBindings folder ready:
Flutter is a framework for building natively compiled, multi-platform applications from a single codebase.
In this tutorial, you will learn how to create a native Mopro module on both Android and iOS simulators/devices.
In this example, we use Circom circuits and their corresponding .zkey files. The process is similar for other provers.
0. Prerequisites
-
Install Flutter
If Flutter is not already installed, you can follow the official Flutter installation guide for your operating system.
-
Check Flutter Environment
After installing Flutter, verify that your development environment is properly set up by running the following command in your terminal:
flutter doctorThis command will identify any missing dependencies or required configurations.
-
Install Flutter Dependencies
Navigate to the root directory of the project in your terminal and run:
flutter pub getThis will install the necessary dependencies for the project.
-
Create a Flutter App
If you already have Flutter app, you can skip this step. If you don’t have a one, follow this tutorial to set one up. Or run
flutter create <YOUR_FLUTTER_APP>
1. Copy React Native Module
-
Copy the exported
mopro_flutter_bindingsfolder into the project directory you created with the CLI. After doing so, your project structure should look like this:.
├── android
├── assets
├── ios
├── lib
├── mopro_flutter_bindings
├── pubspec.yaml
...
2. Use the plugin
Please refer to flutter-app to see the latest update.
Follow the steps below to integrate mopro plugin.
2-1. Add the plugin to pubspec.yaml as a dependency:
---
dependencies:
flutter:
    sdk: flutter
mopro_flutter_plugin:
    path: ./mopro_flutter_plugin
2-2. Copy keys in the assets folder like this
flutter-app/
├── ...
├── assets/multiplier2_final.zkey
└── lib/main.dart
and update pubspec.yaml
flutter:
    assets:
        - assets/multiplier2_final.zkey
2-3. Initialize the RustLib
In your main function in e.g. lib/main.dart, initialize the RustLib before running the app.
import 'package:mopro_flutter_bindings/src/rust/frb_generated.dart';

Future<void> main() async {
   await RustLib.init();
   runApp(const MyApp());
}
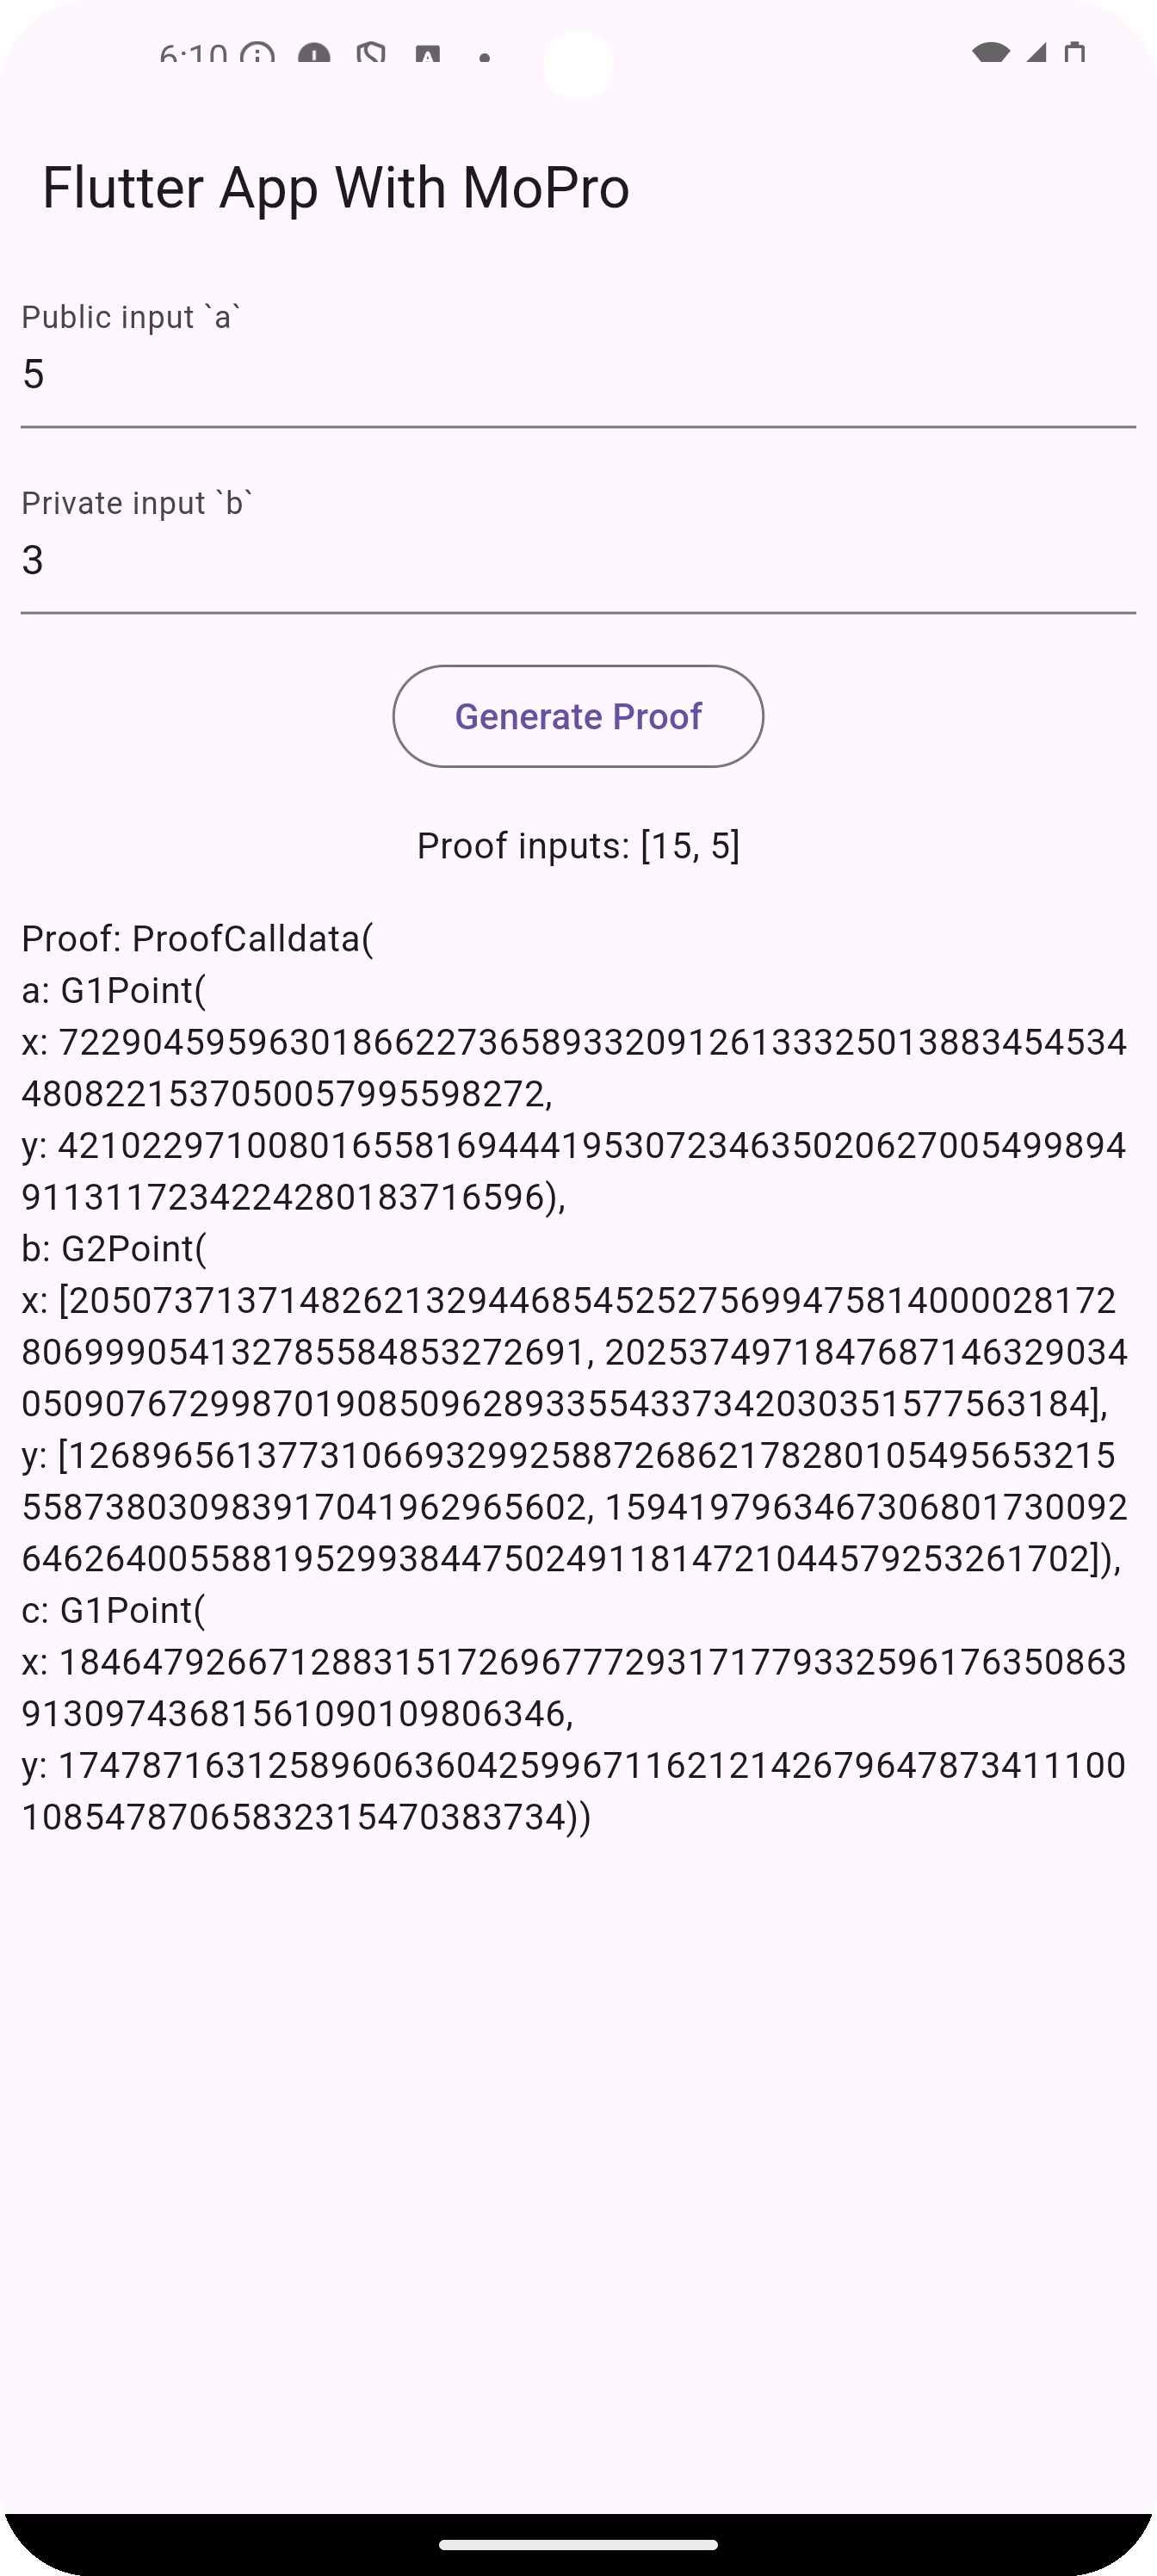
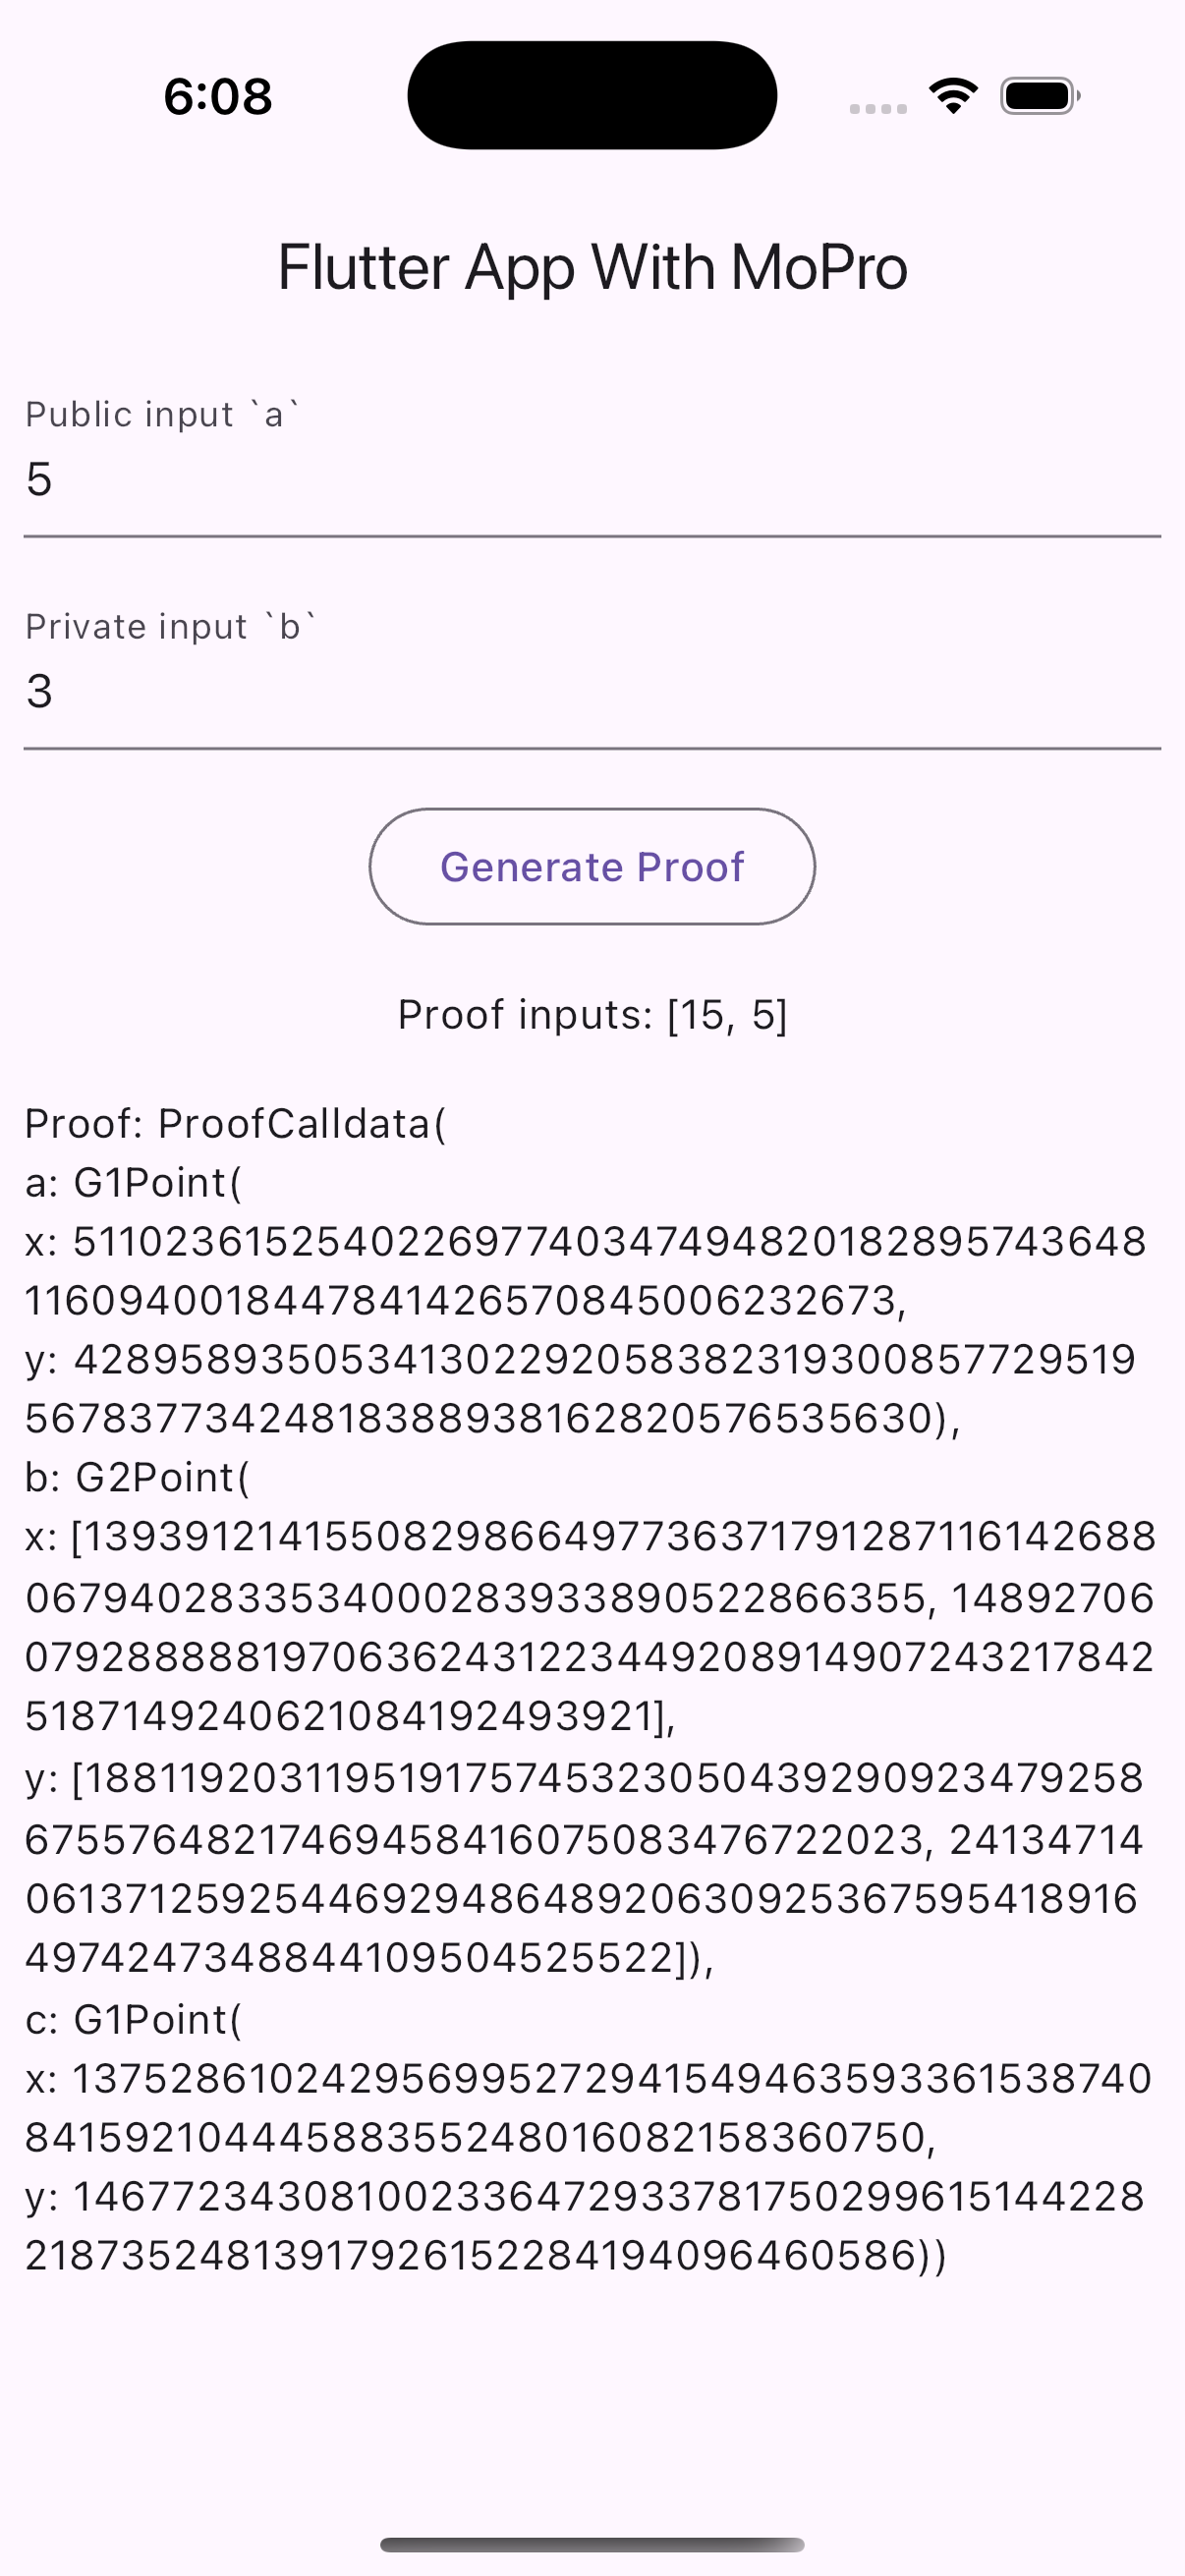
2-4. Generate proofs in the app
import 'package:mopro_flutter_bindings/src/rust/third_party/mopro_example_app.dart'; // Change to the name of your package

var inputs = '{"a":["3"],"b":["5"]}';
var proofResult = await generateCircomProof(
     zkeyPath: zkeyPath,
     circuitInputs: inputs,
     proofLib: ProofLib.arkworks);
var valid = await verifyCircomProof(
     zkeyPath: zkeyPath,
     proofResult: proofResult,
     proofLib: ProofLib.arkworks);
To get zkey path from assets, you can refer to the script: copyAssetToFileSystem()
3. Customizing the zKey
3-1. Configurate zkey in pubspec.yaml
Place your .zkey file in your app's assets folder and remove the example file assets/multiplier2_final.zkey. If your .zkey has a different file name, don't forget to update the asset definition in your app's pubspec.yaml:
assets:
-  - assets/multiplier2_final.zkey
+  - assets/your_new_zkey_file.zkey
3-2. Load the zkey
Load the new .zkey file in your Dart code by updating the file path in lib/main.dart:
var inputs = '{"a":["3"],"b":["5"]}';
- final zkeyPath = await copyAssetToFileSystem("assets/multiplier2_final.zkey");
+ final zkeyPath = await copyAssetToFileSystem("assets/your_new_zkey_file.zkey");
Don't forget to modify the input values for your specific case!
7. What's next
-
Update your ZK circuits as needed. After making changes, be sure to run:
mopro buildinfoIf you created your app using the Mopro CLI, you don’t need to run
mopro update. The app will automatically use themopro_flutter_bindingsfrom the relative path.Copy the
mopro_flutter_bindingsfolder into your Flutter app directory, or run the following command:cp -r ../path/to/your/bindings/mopro_flutter_bindings ./your_flutter_appThis ensures the bindings are regenerated and reflect your latest updates.
warningThe bindings only work locally due to the current
Cargo.tomlconfiguration inmopro_flutter_bindings/rust/Cargo.toml. You can update the dependency source to point to a GitHub repository or a published crate on crates.io, if you want to make it available remotely. If your local source functions differ from the versions on GitHub or crates.io, runmopro buildagain in your local directory, copy the generated bindings into your Flutter project, and update the source path in
mopro_flutter_bindings/rust/Cargo.toml. -
Build your mobile app frontend according to your business logic and user flow.
-
Expose additional Rust functionality: If a function is missing in Swift, Kotlin, React Native, or Flutter, you can:
- Add the required Rust crate in
Cargo.toml - Make the function
pubinsrc/lib.rsto expose it (See the Rust setup guide for details).
Once exported, the function will be available across all supported platforms.
- Add the required Rust crate in
⚠️ Error when running flutter run --release
If you see an error like this:
E/AndroidRuntime(17363): java.lang.UnsatisfiedLinkError: Can't obtain peer field ID for class com.sun.jna.Pointer
...
This happens because UniFFI relies on JNA, which is not compatible with code shrinking or obfuscation enabled in Android release builds.
- See: Android code shrinking
- See: UniFFI Kotlin JNA requirements
✅ Solution
To fix this, disable code shrinking in your Android build.gradle for release builds:
android {
    buildTypes {
        release {
            minifyEnabled false       // Disable code shrinking & obfuscation
            shrinkResources false     // Optional: also disable resource shrinking
        }
    }
}
After applying this change, you should be able to run:
flutter run --release
without hitting the JNA-related crash.